Turn Simple Napkins into Heirlooms with Decorative Stitches
William Taylor ·
Listen to this article~3 min
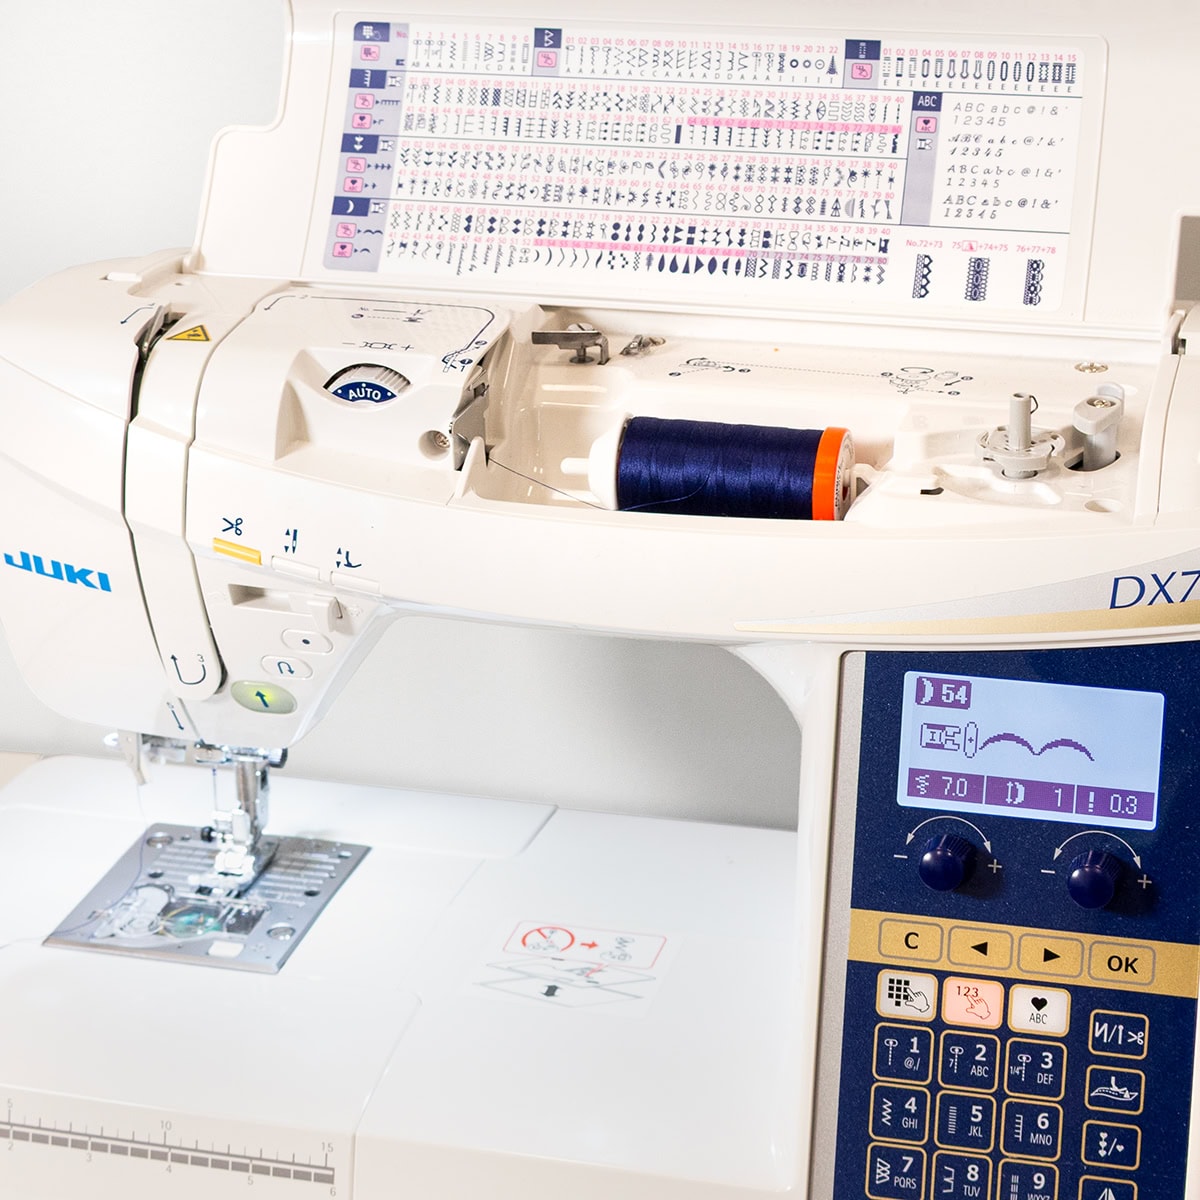
Discover how to use your sewing machine's decorative stitches to turn simple napkins into heirloom-worthy pieces. Free tutorial inside!
National Sewing Month is the perfect excuse to show some love to the machine that brings our creative ideas to life. This year, we're exploring the often-overlooked library of decorative stitches on our sewing machines and using them to give everyday napkins an heirloom-worthy finish. Trust me, once you see how easy it is, you'll want to stitch up a set for every season.
### Why Decorative Stitches Deserve a Second Look
Most of us stick to straight or zigzag stitches, but our machines are capable of so much more. Those decorative stitches can add texture, color, and a personal touch that makes a project truly special. The best part? You don't need any fancy techniques—just a bit of practice and the right supplies.
### What You'll Need to Get Started
Before you dive in, gather these supplies:
- Woven fabric (we used a Summer Solstice Woven Fat Quarter Bundle, but any woven works)
- Contrasting thread (50wt Aurifil in Yellow and Midnight gives a nice pop)
- Totally Stable Iron-on Tear-Away Stabilizer by Sulky
- A pen or pencil
- Sweet Snips 6" Fabric Scissors (or any sharp scissors)
### Step-by-Step: How to Make Decorative Stitch Napkins
#### Step 1: Prepare Your Fabric
First, decide on the finished size of your napkins. We wanted ours to look like little hankies, so we cut our fabric to roughly 12" x 12" for a finished size of 11" x 11". You can make yours any size—just cut your fabric about 1" larger than your desired finished size to allow for trimming.
Next, cut four 1.5" strips of stabilizer that are roughly the same length as your fabric. With the textured side touching the fabric, iron the stabilizer onto the perimeter of your fabric.
Then, use a pen or pencil and a ruler to mark the desired finished size of your napkin onto the stabilizer. This will be your stitching guide.
#### Step 2: Dive into Your Decorative Stitches
Take one of your prepared fabric pieces and use it as a tester. Every decorative stitch is different, and by playing with the width and length settings on your machine, you can control the scale and density of each stitch. As you experiment, write the stitch number and settings next to each stitch on the stabilizer so you remember what worked.
#### Step 3: Stitch and Cut Your Napkins
Now that you've chosen your stitches and settings, it's time to work on the real napkins. If you haven't already, load a bobbin with your colored thread so both sides of the stitch match. We found it easiest to cut away the excess fabric after tearing away the outer stabilizer and leaving the inner stabilizer intact. Put on a good podcast or a movie, grab your sharp fabric scissors, and trim away.
### Share Your Creations
We can't wait to see the beautiful stitches your machine can do! If you make your own decorative stitch napkins, share them on Facebook and Instagram and tag @fatquartershop so we can see and share your work.
Happy sewing!