Unlock Your Machine's Hidden Stitches: Heirloom Napkins in 3 Simple Steps
David Brown ·
Listen to this article~3 min
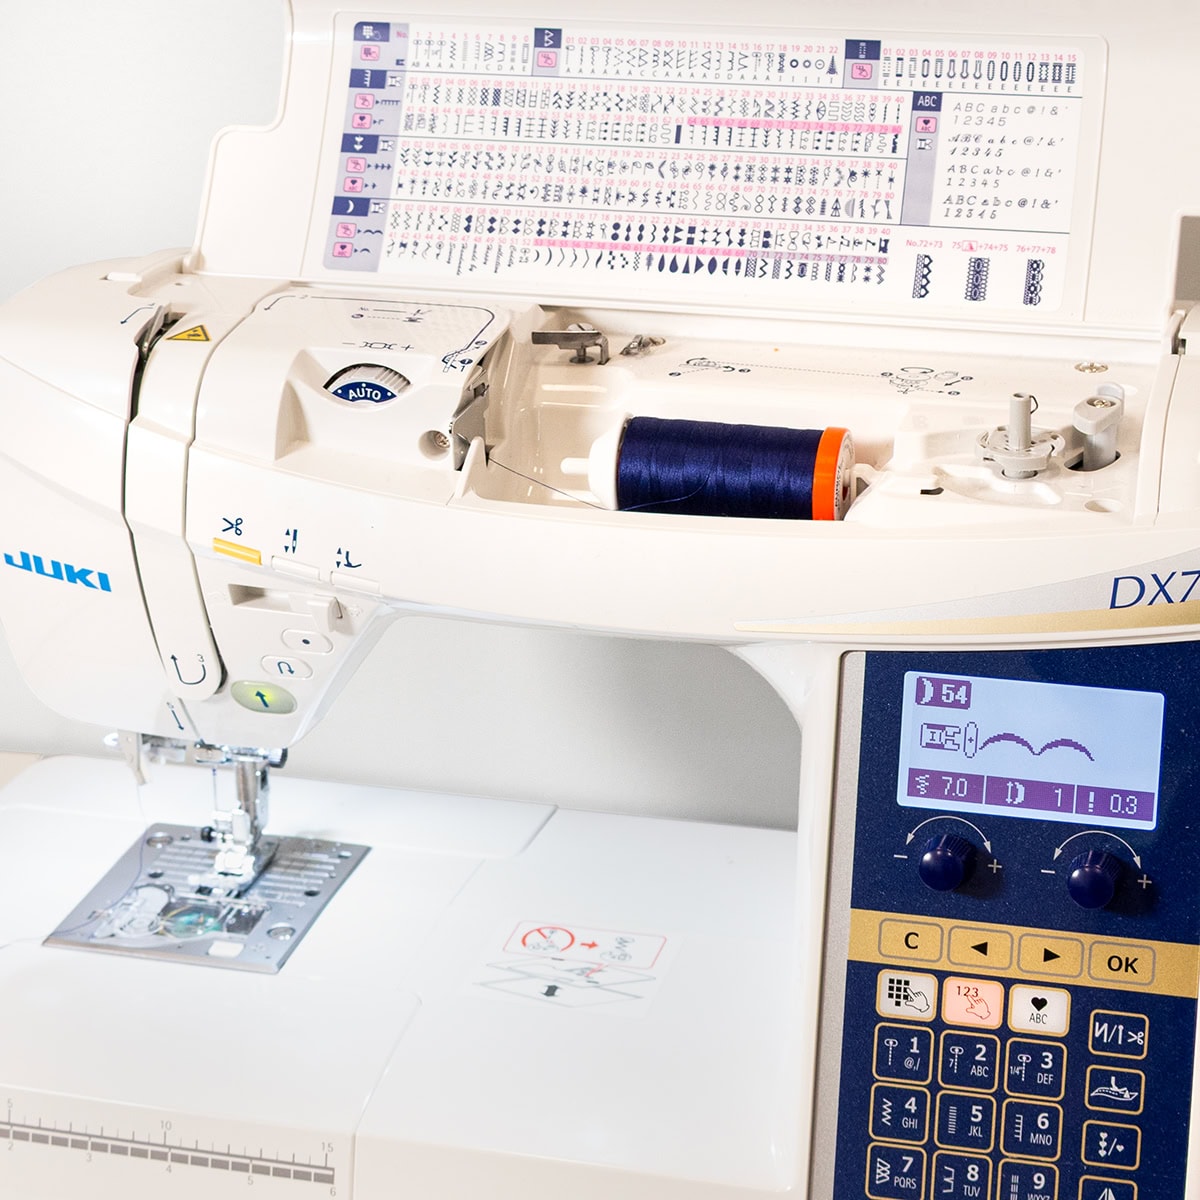
Give your napkins an heirloom-worthy finish using your sewing machine's decorative stitches. This free tutorial walks you through three simple steps—no prior experience needed.
National Sewing Month is the perfect excuse to show your sewing machine some extra love. This year, I finally cracked open that dusty manual and explored the decorative stitch library I'd been ignoring for years. The result? A set of napkins that look like they came from a boutique—and you can make them too with this free tutorial.
### What You'll Need
Before we dive in, gather your supplies. I used a Summer Solstice Wovens fat quarter bundle by Pieces to Treasure for Moda Fabrics—the woven texture feels light and airy, like a summer picnic. But any woven fabric works. Here's your checklist:
- Woven fabric (fat quarters or scraps work great)
- Contrasting thread (I used 50wt Aurifil in Yellow and Midnight)
- Totally Stable Iron-on Tear-Away Stabilizer by Sulky
- A pen or pencil
- Sharp fabric scissors (I love my Sweet Snips 6-inch)
### Step 1: Prepare Your Fabric
First, decide on your napkin size. I wanted mine to look like little hankies, so I cut 12-inch squares for a finished 11-inch napkin. You can go bigger or smaller—just cut your fabric about 1 inch larger than your desired finished size.
Next, cut four 1.5-inch strips of stabilizer, roughly the same length as your fabric. Iron them onto the perimeter of your fabric with the textured side down. Then, use a pen and ruler to mark your finished size on the stabilizer. This line becomes your stitching guide.
### Step 2: Play with Your Decorative Stitches
This is where the magic happens. Grab one of your prepared fabric pieces and use it as a tester. Every decorative stitch is different, and by adjusting the width and length settings, you can control the scale and density. I spent a happy hour just experimenting—it's oddly meditative.
As you find stitches you love, write the stitch number and settings right on the stabilizer next to it. Trust me, you'll forget otherwise.
### Step 3: Stitch and Trim
Now for the real deal. Load a bobbin with your contrasting thread so both sides match. Stitch along your marked line using your chosen decorative stitch. Don't worry if it's not perfect—the stabilizer keeps everything stable.
Once you've stitched all your napkins, tear away the outer stabilizer and trim the excess fabric. I found it easiest to leave the inner stabilizer intact while cutting. Put on a podcast or a movie, and the trimming goes quickly.
### A Few Tips from My Experience
- Always test your stitch on a scrap first—tension issues are common with decorative stitches.
- Use a fresh needle; it makes a huge difference.
- If your machine has a knee lift, use it! It makes pivoting at corners much easier.
- Don't skip the stabilizer. It's the secret to crisp, professional-looking edges.
> "Sewing is like painting with thread—every stitch adds a brushstroke of personality."
### Share Your Creations
I'd love to see what you make! Share your decorative stitch napkins on Facebook or Instagram and tag @fatquartershop. Happy sewing!
Stay connected to Fat Quarter Shop for more tips and tutorials.