The Decorative Stitch Trick That Turns Plain Napkins Into Heirlooms
Jessica Moore ·
Listen to this article~4 min
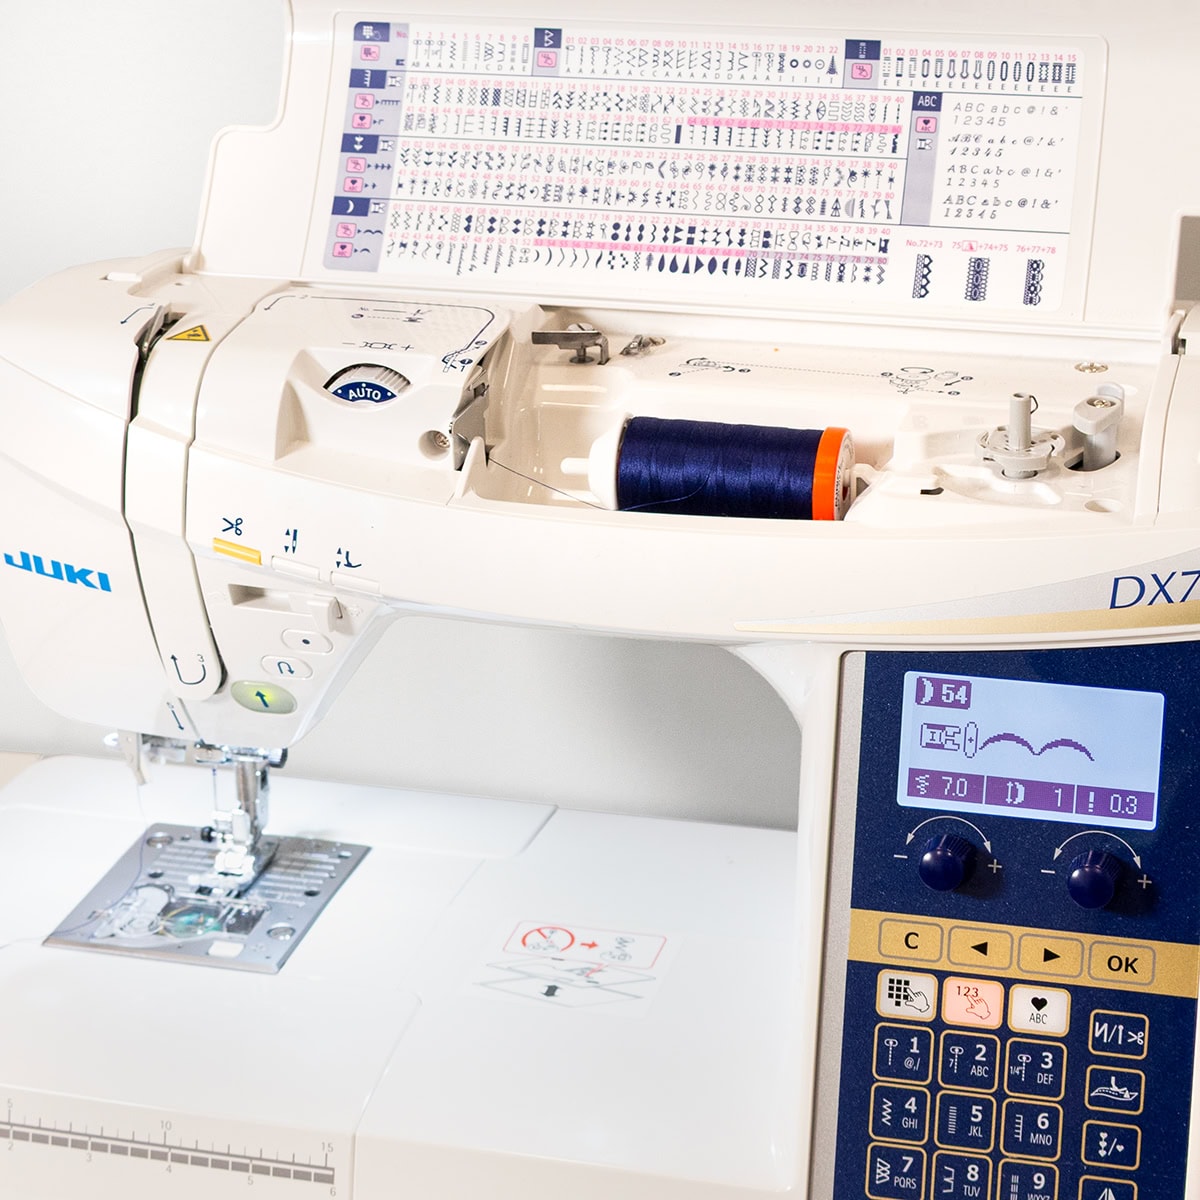
During National Sewing Month, we're giving our sewing machines some love by diving into decorative stitches. Learn how to make heirloom-worthy napkins with a free tutorial.
### Give Your Sewing Machine Some Love This National Sewing Month
We all have that one machine that quietly powers our creative life. And during National Sewing Month, it deserves a little extra attention. This year, we're diving into the often-overlooked library of decorative stitches built into your sewing machine. These stitches can transform a simple square of fabric into something truly special.
I'm talking about napkins. Not just any napkins—heirloom-worthy ones with beautiful stitched borders. And the best part? It's easier than you think.
### What You'll Need
Before we start, gather your supplies. You don't need much, and most of it is probably already in your sewing room.
- **Woven fabric** – We used a Summer Solstice Woven Fat Quarter Bundle, but any lightweight woven works. The texture gives napkins a delicate, airy feel.
- **Contrasting thread** – 50wt Aurifil in Yellow and Midnight worked beautifully for us. Pick colors that pop.
- **Totally Stable Iron-on Tear-Away Stabilizer** by Sulky – This keeps your fabric from puckering.
- **A pen or pencil** – For marking your stitching line.
- **Sharp fabric scissors** – Sweet Snips 6" are our go-to.
### Step 1: Prepare Your Fabric
First, decide on your napkin size. We wanted ours to look like little hankies, so we cut our fabric to roughly 12" x 12" for a finished size of 11" x 11". You can make yours any size—just remember to cut your fabric about 1" larger than your desired finished dimensions.
Next, cut four 1.5" strips of stabilizer, roughly the same length as your fabric. With the textured side touching the fabric, iron the stabilizer onto the perimeter. Then, using a pen or pencil and a ruler, mark your desired finished size onto the stabilizer. This is your stitching guide.
### Step 2: Dive Into Your Decorative Stitches
Now comes the fun part. Grab one of your prepared fabric pieces to use as a tester. Every decorative stitch behaves differently, and by adjusting the width and length settings on your machine, you can control the scale and density of each stitch.
As you experiment, write the stitch number and settings right next to each sample on the stabilizer. Trust me, you'll thank yourself later. This little reference card saves you from guessing when you move to the real napkins.
### Step 3: Stitch and Cut Your Napkins
Once you've found your favorite stitches and settings, it's time to work on the actual napkins. Load a bobbin with your colored thread so both sides of the stitch match. Then, following your marked line, stitch around the perimeter of each napkin.
After stitching, tear away the outer stabilizer and leave the inner stabilizer intact. This makes it easier to cut away the excess fabric. A good podcast or a weekend movie night plus a pair of sharp scissors will make quick work of trimming.
### Share Your Creations
We can't wait to see the beautiful stitches your machine has to offer. If you make your own decorative stitch napkins, share them on Facebook and Instagram and tag @fatquartershop so we can see and share your work. Happy sewing!
*Stay connected to Fat Quarter Shop!*