The Quilting Trend That's Sweeping the Community—And How to Nail It
Jennifer Moore ·
Listen to this article~4 min
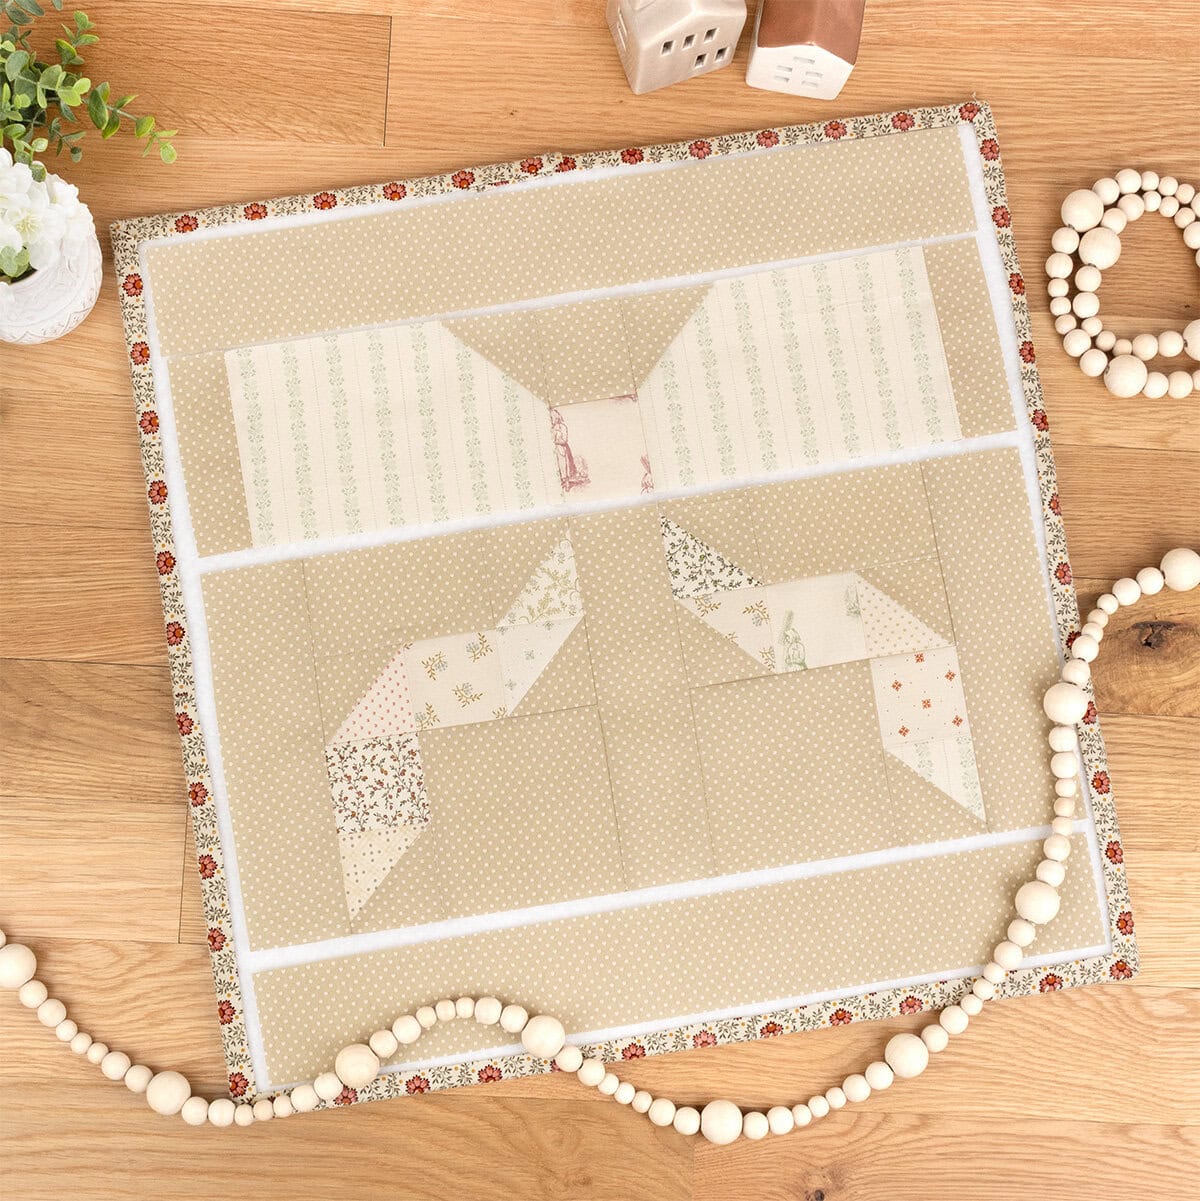
Explore the pictorial quilt trend and learn how to assemble the Rows of Bows block with our step-by-step tutorial. Perfect for all skill levels!
### The Quilting Trend You Can't Ignore
Welcome back to Sewing the Trends! If you've been anywhere near the quilting world lately, you've probably noticed a shift. Quilters are moving beyond traditional patterns and embracing something a bit more playful: pictorial quilts. These aren't your grandma's quilts—unless your grandma was into making fabric versions of her dog, which would be awesome. Pictorial quilts are all about blocks that look like a picture of something recognizable. It could be an animal, an object, a place—anything. And the best part? There's a pictorial quilt for every skill level, from beginner-friendly to advanced. Whether you're into timeless and traditional or marvelously modern, you'll find something that speaks to you.
### Why Pictorial Quilts Are Taking Over
So what's behind this trend? For starters, designers like Lori Holt, Corey Yoder, and Joanna Figueroa have been blending traditional and pictorial blocks in their recent books like *Prairie Home*, *Sunroom Sampler*, and *Strawberry Garden*. Then you have designers like Elizabeth Hartman, who's basically the queen of whimsical pictorial quilts. Her patterns, like *Pups in Pajamas*, are a masterclass in turning fabric into fun. The appeal is simple: pictorial quilts let you tell a story with your stitches. They add personality and charm that a standard geometric quilt just can't match.
### How to Assemble the Rows of Bows Block
Now, let's get into the nitty-gritty with a block that's perfect for pictorial quilts: the Rows of Bows block by Kassidy Grace. This block is made up of three main units, and it uses half square triangles, rectangles, squares, and corner squares. The secret sauce? Corner squares. By adding a corner square to the top left and top right of the bow blocks, you create the illusion of a cute little knot. It's a small detail that makes a big impact.
Here's a quick breakdown of the steps:
- **Step 1: Assemble the Bow Loop Unit** – This is where you'll use those corner squares to form the knot.
- **Step 2: Assemble the Left Bow Tail Unit** – Pay attention to fabric placement here.
- **Step 3: Assemble the Right Bow Tail Unit** – Mirror the left tail, but keep an eye on directional prints.
- **Step 4: Assemble the Rows of Bows Block** – Put it all together, and you've got a beautiful bow block!
For complete fabric requirements, cutting directions, and detailed assembly instructions, grab the Rows of Bows Quilt Pattern. Trust me, it's worth it.
### A Tip for Fabric Placement
Before you commit to your final layout, use your design boards to test fabric placement. Kassidy's pattern has you make all 12 of each unit before assembling your blocks. That's intentional—it gives you a chance to play with balance and repetition of fabric throughout your blocks and final quilt. If you're making a scrappy quilt like Kimberly did, make sure your Fabric L pieces are your favorite print. That'll be the focal point of your block, so choose something you love.
### Share Your Pictorial Quilts With Us!
If you decide to join in on the fun and make your own Rows of Bows Quilt, we'd love to see it! Share your pictorial quilts and quilt blocks using #SewingTheTrendsFQS on Facebook and Instagram, and tag @fatquartershop so we don't miss it. Stay tuned for the next trend coming your way soon.
Happy Quilting!