The Quilting Trend That's Turning Heads: Pictorial Quilts & Rows of Bows Block Tutorial
Eleanor Vance ·
Listen to this article~3 min
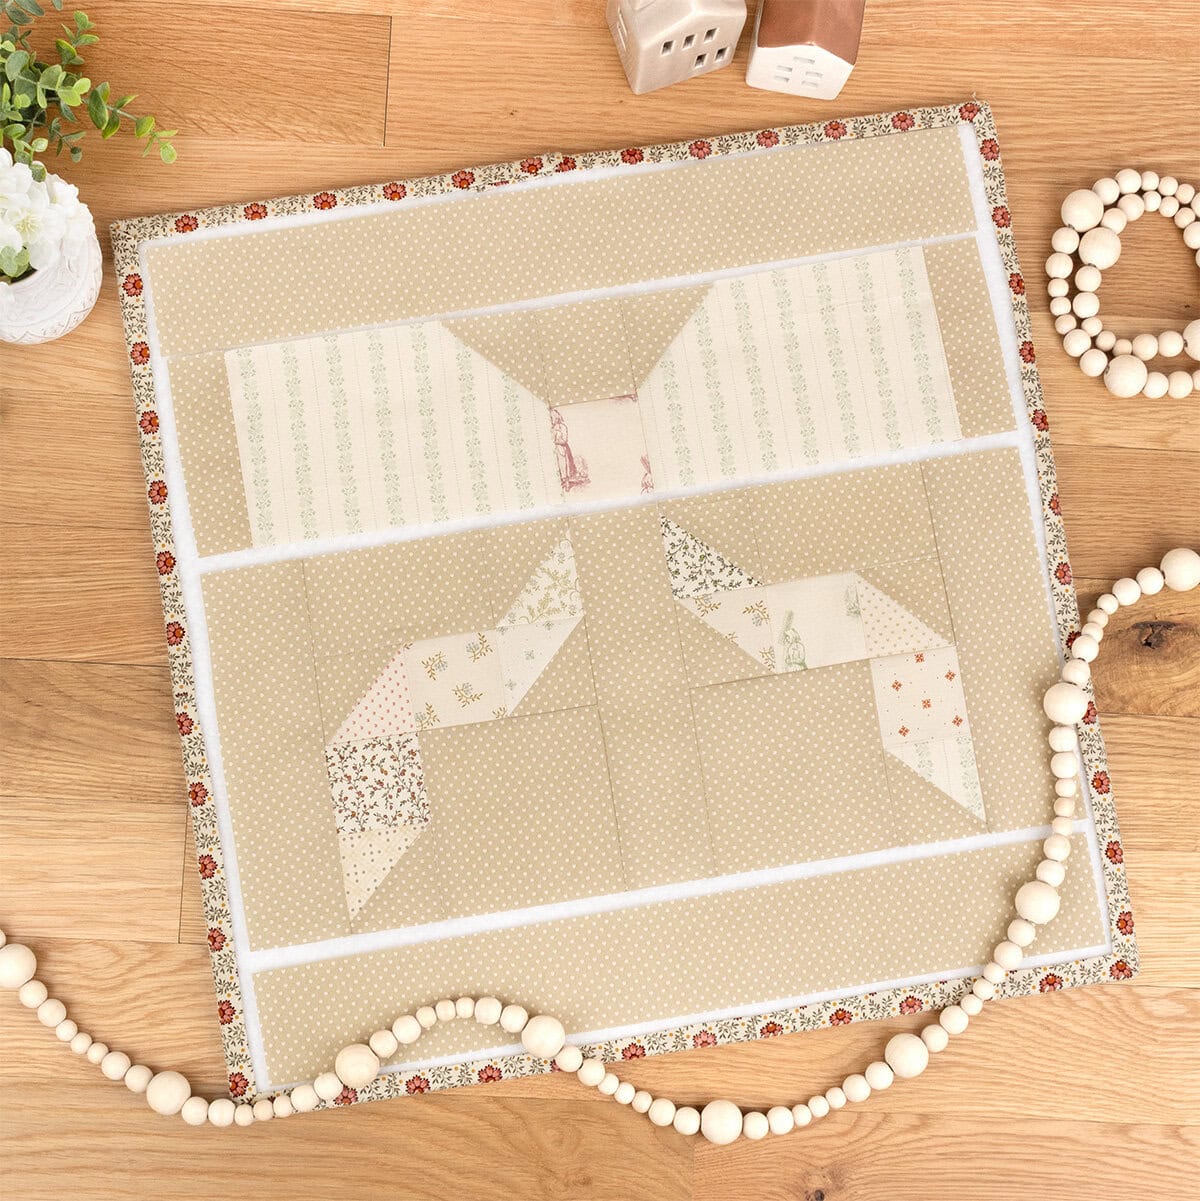
Discover the pictorial quilt trend and learn how to make the Rows of Bows block with our step-by-step tutorial. Perfect for quilters of all levels!
### The Quilting Trend That's Turning Heads
Have you noticed? Quilts that look like pictures are everywhere right now. We're talking about pictorial quilts—blocks that form a recognizable animal, object, place, or thing. And honestly, they're hard to resist.
Whether you're a beginner or a seasoned pro, there's a pictorial quilt out there for you. From classic to modern, these quilts bring a whole new level of charm to your projects.
### What Exactly Is a Pictorial Quilt?
A pictorial quilt features blocks that create a picture. Think of a cute animal, a house, a flower—anything you can imagine. Designers like Lori Holt, Corey Yoder, and Joanna Figueroa mix traditional and pictorial blocks in their quilts, as seen in books like *Prairie Home*, *Sunroom Sampler*, and *Strawberry Garden*.
Then there's Elizabeth Hartman, who's famous for her whimsical animal designs. Her patterns, like *Pups in Pajamas*, are beloved by quilters everywhere.
### The Rows of Bows Block: A Tutorial
Today, we're diving into the Rows of Bows block by Kassidy Grace. This block is a perfect example of how simple shapes can create a delightful picture.
The block is made of three main units: half-square triangles, rectangles, squares, and corner squares. The magic happens with corner squares—they're a pictorial block's secret weapon.
By adding a corner square to the top left and top right of the bow blocks, you create the illusion of a cute little knot. Let's walk through the steps.
#### Step 1: Assemble the Bow Loop Unit
Start by gathering your fabric pieces for the bow loop. Follow the pattern's cutting instructions to ensure accuracy. Sew the pieces together, pressing seams as you go.
#### Step 2: Assemble the Left Bow Tail Unit
Next, work on the left bow tail. Pay attention to fabric placement—this is where the design starts to take shape.
#### Step 3: Assemble the Right Bow Tail Unit
Repeat for the right bow tail. Keep your seams consistent for a polished look.
#### Step 4: Assemble the Rows of Bows Block
Now, combine all units to form the complete block. Take your time to match seams and corners perfectly.
### Fabric Placement Tip
Before you sew everything together, use a design board to test fabric placement. Kassidy's pattern has you make all 12 of each unit before assembling blocks, giving you a chance to play with balance and repetition.
If you're making a scrappy quilt like Kimberly did, make sure your Fabric L pieces are your favorite print—they'll be the focal point of your block.
### Share Your Pictorial Quilts With Us!
We'd love to see your Rows of Bows quilts! Share your creations on Facebook and Instagram using #SewingTheTrendsFQS and tag @fatquartershop so we don't miss them.
Stay tuned for the next trend coming your way soon. Happy quilting!