Pictorial Quilts Are Taking Over: Here's How to Make the Rows of Bows Block
William Miller ·
Listen to this article~4 min
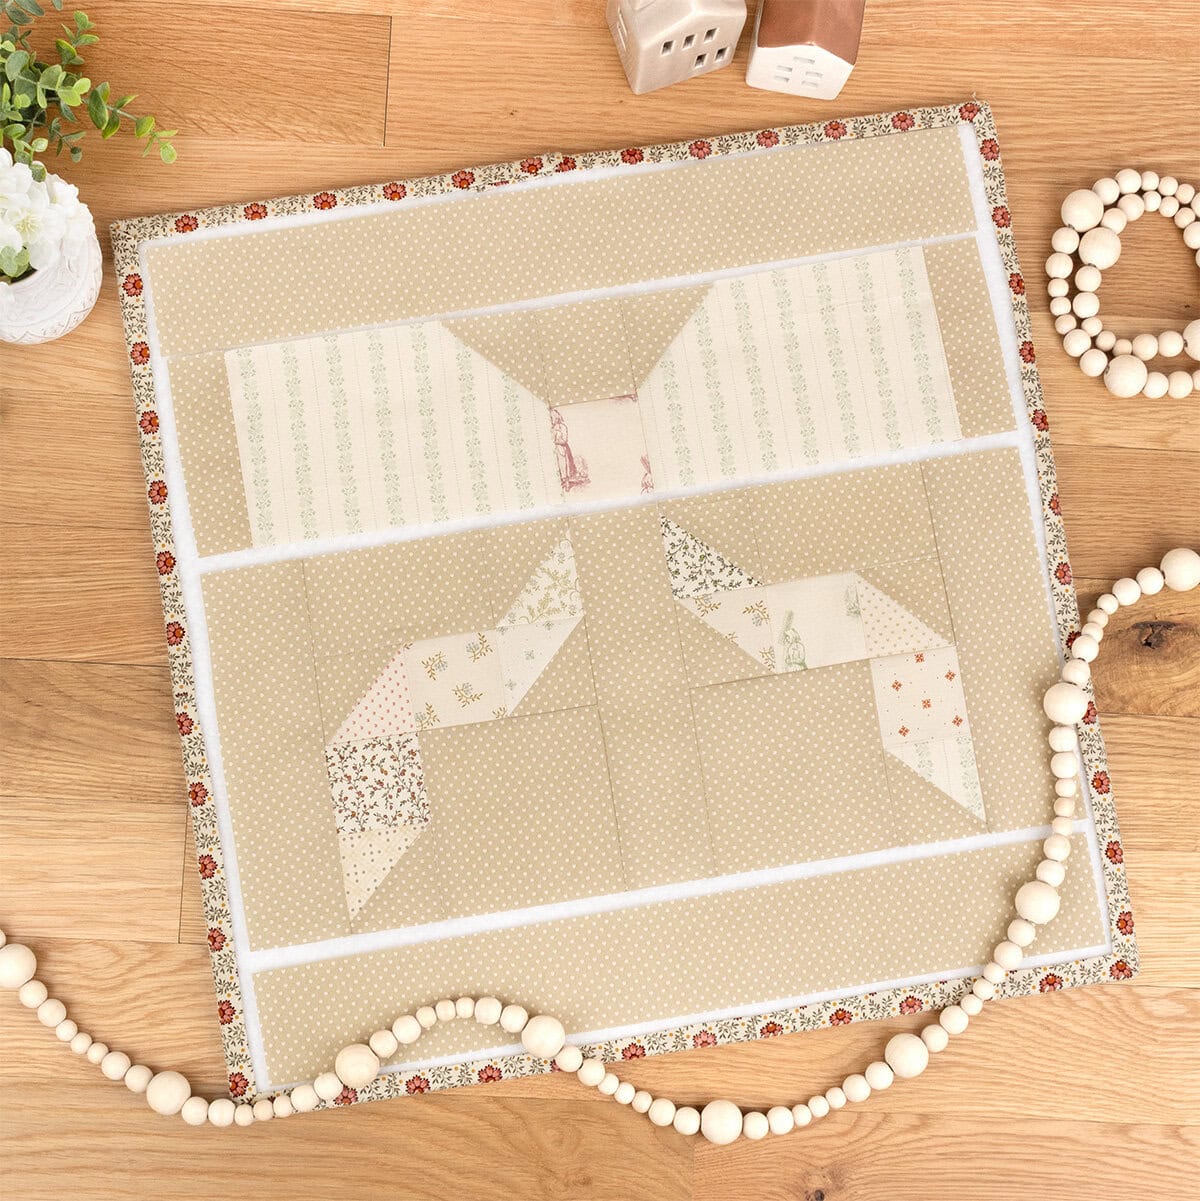
Discover the pictorial quilt trend and learn how to assemble the Rows of Bows block by Kassidy Grace with our step-by-step tutorial. Perfect for all skill levels!
Ever flipped through a quilt book and done a double-take because a block actually looked like a dog, a house, or a bow? That's the magic of pictorial quilts, and they've completely taken over the quilting world lately. Whether you're a seasoned pro or just picked up your first rotary cutter, there's a pictorial pattern out there with your name on it.
Today, we're diving into this trend and walking through the Rows of Bows block by Kassidy Grace. It's a charming design that looks way more complicated than it actually is. Trust me, once you see how it comes together, you'll want to make a whole quilt of these.
### What Exactly Is a Pictorial Quilt?
A pictorial quilt block is one that looks like a recognizable picture. Could be an animal, an object, a place, or just about anything you can imagine. Instead of relying on traditional geometric layouts, these blocks use fabric to "draw" an image.
Designers like Lori Holt, Corey Yoder, and Joanna Figueroa mix pictorial blocks with traditional ones in their books, such as *Prairie Home*, *Sunroom Sampler*, and *Strawberry Garden*. Then you've got Elizabeth Hartman, who's basically the queen of whimsical pictorial designs. Her patterns, like *Pups in Pajamas*, are instantly recognizable and beloved by quilters everywhere.
Other popular pictorial patterns include:
- Boo To You Mystery Quilt
- Thanksgiving Row Quilt
- Jolly Tree Farm Mystery Quilt
- Jolly Bar Hearts Door Banner
- Bows Classic & Vintage Quilt
- Block 10 of Sewcialites 3
See? There's a little something for every skill level and style.
### How to Assemble the Rows of Bows Block
The Rows of Bows block is made up of three main units: half square triangles, rectangles, squares, and corner squares. The secret sauce? Those corner squares. They're what turn a simple shape into a recognizable bow with a cute little knot.
Here's a quick breakdown of the steps:
1. **Assemble the Bow Loop Unit** – This is where the top of the bow comes together.
2. **Assemble the Left Bow Tail Unit** – The left tail gets its shape.
3. **Assemble the Right Bow Tail Unit** – Same idea, opposite side.
4. **Assemble the Rows of Bows Block** – Put it all together and watch the magic happen.
Kassidy's pattern has you make all 12 of each unit before assembling the blocks. That might sound like a lot, but it gives you a chance to play with fabric placement and balance. If you're going scrappy like Kimberly did, make sure your Fabric L pieces are your favorite print—that's the focal point of the block.
> "Use your design boards to test fabric placement before you commit to your final layout!" – Kassidy Grace
That tip alone can save you from a lot of seam ripping.
### Share Your Pictorial Quilts With Us!
If you decide to join the fun and make your own Rows of Bows quilt, we'd love to see it. Share your pictorial quilts and blocks using #SewingTheTrendsFQS on Facebook and Instagram, and tag @fatquartershop so we don't miss it.
Stay tuned for the next trend coming your way soon. Until then, happy quilting!