The Ruching Trick That Turns Plain Cross Stitch Pillows Into Heirlooms
Robert Jones ·
Listen to this article~4 min
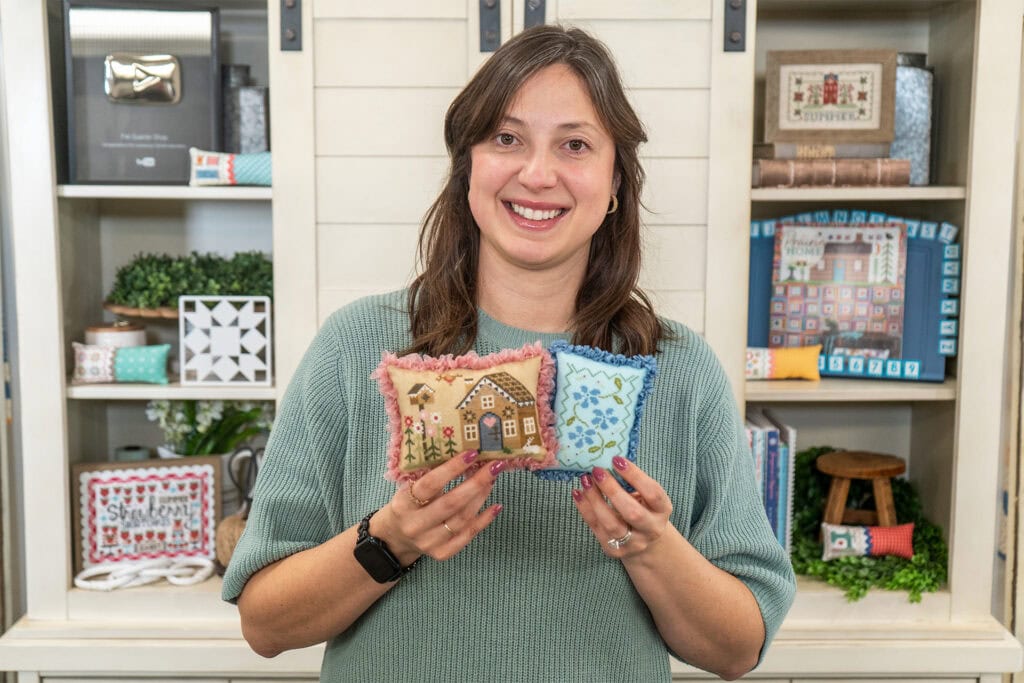
Learn how to add a vintage-inspired ruched finish to your cross stitch pillows. Denise shares her step-by-step technique from the FlossTube livestream, plus all the supplies you'll need.
### The Finish That Makes Everyone Ask, "Wait, How Did You Do That?"
You know that feeling when you finish stitching a piece, and it's beautiful, but it just... sits there? Like it's waiting for something more. Denise felt that too. So in a recent FlossTube livestream, she shared a vintage-inspired ruching technique that transforms a simple cross stitch pillow into something people can't stop touching. It's the kind of finish that looks complicated but is actually just a series of simple stitches repeated around a perimeter. And once you see it, you'll want to try it on everything.
### What You'll Need Before You Start
You don't need a ton of specialty tools, but having the right supplies makes the process smoother. Here's what Denise recommends:
**For the ruching itself:**
- Any non-wire ribbon (satin, grosgrain, velvet—whatever fits your vibe)
- Clover Black Gold Size 10 Sharp Needles
- Clear premium invisible polyester thread
- Lady Dot Creates ribbon (if you want a curated option)
**For finishing the pillow:**
- Pellon Shape Flex Woven Fuse (20" wide yardage or 20" x 36" piece)
- Heat n Bond Ultrahold (17" x 1 yard pack)
- 1 lb white core wool roving
- Stuffing tool by Benzie Design
- Black Fineliner Frixion Erasable Marker
- Ultimate Pressing Cloth
- Fabric and backing of your choice
Most of these are things you probably already have in your stash, or can grab at your local quilt shop. The key is the ribbon—make sure it's not wire-edged, because you need it to gather softly.
### The Step-by-Step Ruching Technique
Denise demonstrates this starting at the 1:10:00 mark in the livestream, and once you watch her do it, the written steps make perfect sense. Here's the breakdown:
1. **Thread your needle** and secure it to the center bottom seam of your pillow with 2–3 knots. Trim the tail.
2. **Cut a straight edge** on your ribbon, but don't cut it to final length yet. Fold the raw end over twice toward the pillow to hide the edge.
3. **Anchor the folded edge** with 1–2 tacking stitches.
4. **Make your stitches:** Starting at the edge closest to you, sew two running stitches away from you at a 45-degree angle (/), then two running stitches back toward you at a 45-degree angle (\). Finish with two running stitches straight along the center of the ribbon (–). It looks like a triangle with a tail.
5. **Pull snug** to gather the ribbon, then tack it down with a single stitch.
6. **Repeat** steps 4 and 5 around the entire perimeter. At corners, make your ruching tighter and add extra tacking stitches so it stays full.
7. **When you're ½"–1" from the start**, switch to only the 45-degree stitches for the final gathers.
8. **Trim the ribbon**, fold the end over twice, nestle it against the starting fold, tack it down, and secure with 2–3 knots.
9. **Bury or trim the thread** to finish.
> "The first time you do this, it feels like you're making a mess. By the third side, you'll be ruching like you've done it for years." — Denise
### Why This Finish Works So Well
Ruching adds texture and dimension without overwhelming the cross stitch itself. It frames the piece, drawing the eye inward. And because you're using ribbon, you can match or contrast colors to change the entire mood. A neutral ribbon keeps things classic; a bright one makes it playful.
Plus, it's forgiving. If your stitches aren't perfectly even, the gathers hide it. That's the beauty of this technique—it's meant to look handmade, not machine-perfect.
### Stitch and Share
Once you've tried it, share your finish with the community. Follow Fat Quarter Shop on Facebook and Instagram for updates, or join Kimberly's Stitch Squad Facebook Group—a supportive space for quilters and stitchers. Tag them when you post your ruched finishes so everyone can see your work.
Happy stitching!