The Ruching Trick That Turns Any Cross Stitch Into a Boutique Pillow
Jessica Miller ·
Listen to this article~5 min
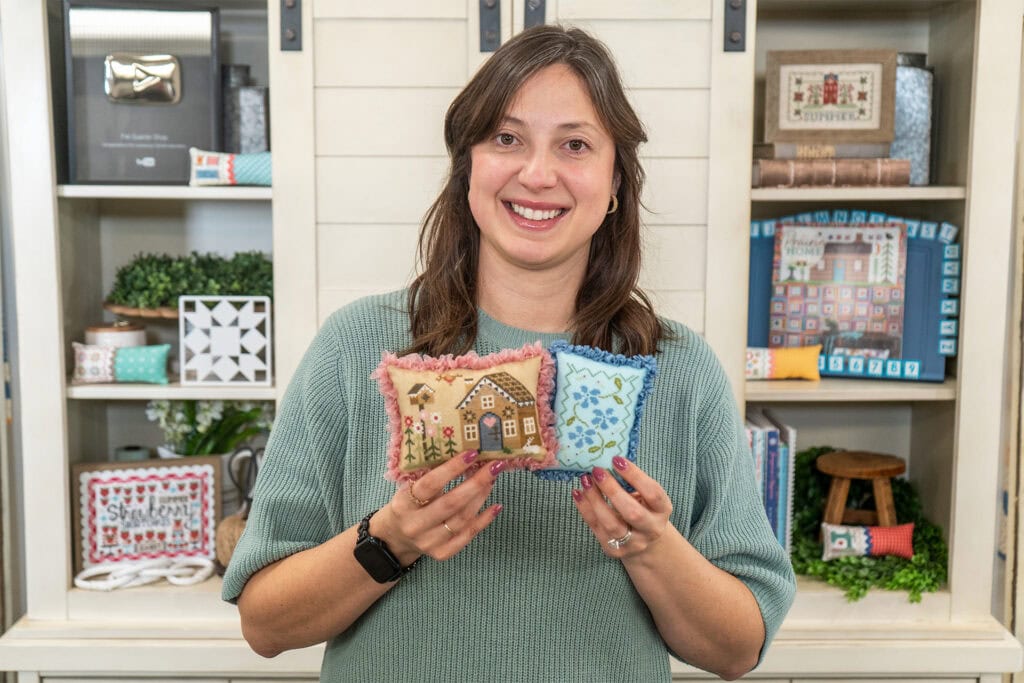
Learn how to finish your cross stitch as a pillow with a vintage-inspired ruching technique. Denise's step-by-step tutorial makes it easy to add texture and charm to any project.
Ever finish a cross stitch piece and feel like it's missing that little something? You're not alone. Denise shared a vintage-inspired ruching technique on the FlossTube Livestream, and it's the kind of detail that makes people ask, "Wait, you made that yourself?"
Today, we're breaking down her method step by step. Whether you're dressing up a plain cross stitch pillow or finally finishing that pattern you've been hoarding, this ruched finish adds texture, charm, and a whole lot of personality. And the best part? It's easier than it looks.
### What You'll Need to Get Started
Before you dive in, gather your supplies. For the ruching itself, you'll want:
- Any non-wire ribbon (satin, grosgrain, whatever you've got in your stash)
- Clover Black Gold Size 10 Sharp Needles
- Clear premium invisible polyester thread
- Lady Dot Creates ribbon (if you want something extra special)
- Stash 'n Stores from It's Sew Emma for keeping things organized
If you're also finishing the pillow from scratch, here's what Denise used:
- Blue Notes Number Two by October House Fiber Arts
- Pellon Shape Flex Woven Fuse (20" wide, by the yard)
- Pellon 20" x 36" Shape Flex Woven Fuse
- Nantucket Summer by Camille Roskelley
- Heat n Bond Ultrahold 17" x 1 Yard Pack
- 1 lb White Core Wool Roving
- Stuffing Tool by Benzie Design
- Black Fineliner Frixion Erasable Marker
- Ultimate Pressing Cloth
Don't stress if you don't have every single item. The core technique works with what you have on hand.
### Denise's Ruching Technique: Step by Step
Denise demonstrates this after showing how to sew, stuff, and finish a pillow with a center back seam. You can jump to 1:10:00 in the video if you want to skip ahead. But here's the written breakdown so you can bookmark it and refer back anytime.
1. Thread your needle and secure it to the center bottom seam of the pillow with 2–3 knots. Trim the tail.
2. Cut a straight edge on your ribbon, but don't cut it to length yet. You'll trim it at the end. Fold the raw end over twice toward the pillow to hide the edge.
3. Anchor the folded edge with 1–2 tacking stitches.
4. Starting at the edge of the ribbon closest to you, make two running stitches away from you at a 45-degree angle (/), then two running stitches back toward you at a 45-degree angle (\). Finish with two running stitches straight along the center of the ribbon (–). The shape looks like a triangle with a tail.
5. Pull your stitches snug to gather the ribbon, then tack it down with a single stitch.
6. Repeat steps 4 and 5 around the entire perimeter. At corners, make your ruching extra tight and add a few extra tacking stitches to keep it looking full.
7. When you have ½"–1" left before reaching your starting point, switch to only the 45-degree stitches (/ \) for the final gathers.
8. Trim the ribbon to fit, fold the end over twice, nestle it along the starting fold, tack it down, and secure with 2–3 knots.
9. Bury or trim the thread to finish.
That's it. No fancy machines, no complicated math. Just a needle, thread, and a little patience.
> "The first time I tried ruching, I was sure I'd mess it up. By the third pillow, I was adding it to everything—even a tote bag. It's that addictive."
### Why This Finish Works So Well
Ruching isn't just pretty. It adds structure and dimension that flat finishes lack. The gathers create shadows and highlights that make your cross stitch pop. Plus, it hides any less-than-perfect seams. It's forgiving, flexible, and works with almost any ribbon width.
One tip: practice on a scrap piece of fabric first. You'll get a feel for how tight to pull your stitches. Too loose, and it looks sloppy. Too tight, and the ribbon puckers weirdly. Aim for a gentle gather that still shows the ribbon's pattern.
### Stitch and Share With Us
We'd love to see your ruched finishes. Follow Fat Quarter Shop on Facebook and Instagram for updates, or join Kimberly's Stitch Squad Facebook Group—a supportive community of quilters and stitchers. Tag us when you post your work so we can share it too.
Happy stitching!
Stay connected to Fat Quarter Shop for more tutorials, tips, and inspiration.