The Ruching Twist That Turns Cross Stitch Into Heirlooms
Eleanor Vance ·
Listen to this article~5 min
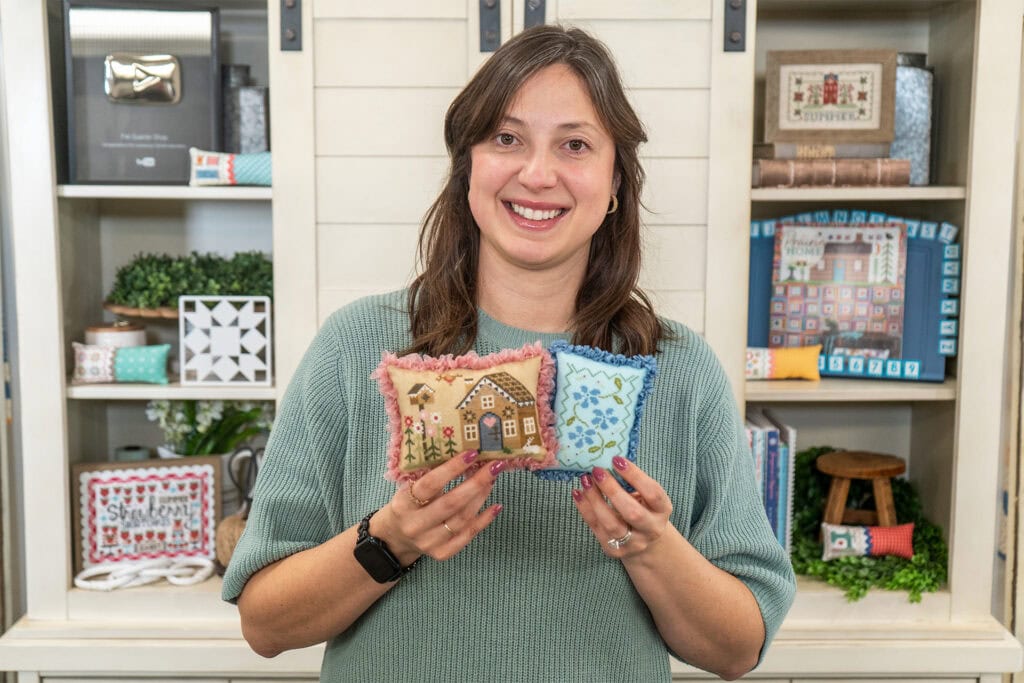
Learn Denise's vintage-inspired ruching technique to finish your cross stitch as a pillow with a center seam. Step-by-step guide plus supply list.
There's something about a hand-finished cross stitch pillow that makes people stop and stare. Maybe it's the texture. Maybe it's the time you can feel in every stitch. Or maybe it's that ruched ribbon detail running along the edge—the one that looks like it took hours but actually comes together faster than you'd think.
That's exactly what Denise shared during the FlossTube Livestream on September 16th, 2026. She walked through finishing a piece as a pillow with a center back seam, then added a vintage-inspired ruching technique that turns a simple finish into something special. If you missed it live, don't worry. We're breaking down the whole process right here so you can bookmark it and come back whenever you're ready to try it yourself.
### What You'll Need Before You Start
Whether you've got a stack of stitched pillows waiting for a little extra style or a finished pattern that's ready to become a pillow, gather these supplies first:
**For the ruching:**
- Any non-wire ribbon (satin, grosgrain, velvet—whatever fits your piece)
- Clover Black Gold Size 10 Sharp Needles
- Clear premium invisible polyester thread
- Lady Dot Creates ribbon (if you want a curated option)
- Stash 'n Stores from It's Sew Emma for organization
**For finishing the pillow:**
- Blue Notes Number Two by October House Fiber Arts
- Pellon Shape Flex Woven Fuse (20-inch wide yardage or 20 x 36-inch pieces)
- Nantucket Summer by Camille Roskelley
- Heat n Bond Ultrahold (17-inch x 1-yard pack)
- 1 lb white core wool roving
- Stuffing tool by Benzie Design
- Black Fineliner Frixion Erasable Marker
- Ultimate Pressing Cloth
### Denise's Ruching Technique, Step by Step
Once you've sewn, stuffed, and finished your pillow with that center back seam, you're ready for the fun part. Denise jumps into the ruching demo around the 1:10:00 mark in the video, and here's how it goes:
1. Thread your needle and secure it to the center bottom seam of the pillow with 2–3 knots. Trim the tail.
2. Cut a straight edge on your ribbon—but don't cut it to length yet. You'll trim it to fit at the end. Fold the raw end over twice toward the pillow to hide it.
3. Anchor that folded edge to the pillow with 1–2 tacking stitches.
4. Starting at the edge closest to you, make two running stitches away from you at a 45-degree angle (/), then two back toward you at a 45-degree angle (\). Finish with two straight running stitches along the center of the ribbon (–). The shape looks like a triangle with a tail.
5. Pull your stitches snug to gather the ribbon, then tack it down with a single stitch.
6. Repeat steps 4 and 5 around the entire perimeter. At the corners, make your ruching extra tight and add a few extra tacking stitches so the ribbon stays full.
7. When you're ½ to 1 inch from your starting point, switch to only the 45-degree stitches (/ \) for your final gathers.
8. Trim the ribbon to fit, fold the end over twice, nestle it along the starting fold, tack it down, and secure with 2–3 knots.
9. Bury or trim the thread to finish.
> "The corners are where the magic happens. Tight gathers and a few extra tacks keep everything looking plush and intentional—not like an afterthought."
### Why This Finish Works So Well
Ruching isn't just pretty. It adds structure and texture that flat finishing can't match. The gathers create dimension, so your cross stitch becomes a tactile piece people want to pick up and touch. And because you're working with ribbon, you can match or contrast your floss colors for a custom look.
It's also forgiving. If a gather isn't perfect, the overall effect hides it. That makes this a great technique for anyone who's nervous about finishing—or anyone who just wants a finish that feels a little more heirloom and a little less mass-produced.
### Stitch and Share With Us
We'd love to see what you create. Follow Fat Quarter Shop on Facebook and Instagram for updates, or join Kimberly's Stitch Squad Facebook Group—a supportive community of quilters and stitchers. Tag us when you post your ruched finishes so we can see and share your work.
Happy stitching!