Unlock Hidden Decorative Stitches for Heirloom-Quality Napkins
Jennifer Moore ·
Listen to this article~3 min
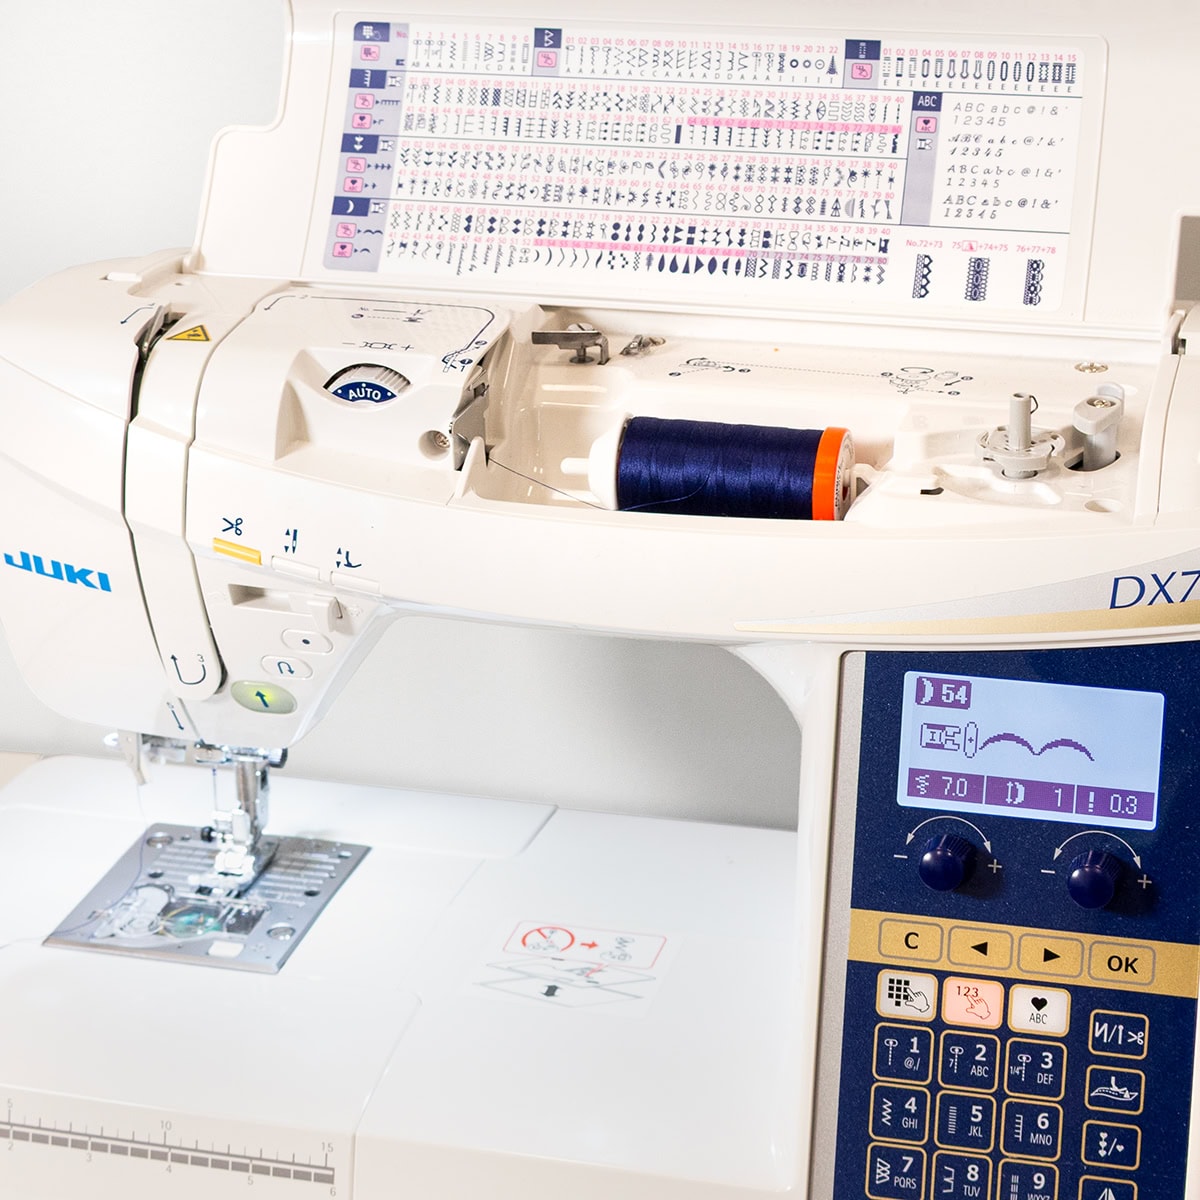
Discover how to use your sewing machine's decorative stitches to create heirloom-quality napkins. Easy step-by-step tutorial with a free pattern.
### Turn Simple Fabric into Heirloom Napkins
National Sewing Month is the perfect excuse to show some love to your sewing machine—especially those decorative stitches you've probably ignored. This year, we're pulling them out of hiding and using them to give plain napkins a stunning, heirloom-worthy finish. Trust me, once you see how easy it is, you'll wonder why you waited so long.
We grabbed the Summer Solstice Wovens collection by Pieces to Treasure for Moda Fabrics. The woven texture gives the napkins a delicate, airy feel that balances beautifully with the sturdy decorative stitches we used for the border. And the best part? You can make your own set with just a few supplies.
### What You'll Need
- Woven fabric (we used a Summer Solstice Woven Fat Quarter Bundle)
- Contrasting thread (we used 50wt Aurifil in Yellow and Midnight)
- Totally Stable Iron-on Tear-Away Stabilizer by Sulky
- A pen or pencil
- Sweet Snips 6" Fabric Scissors
That's it. No fancy tools, no complicated steps.
### Step 1: Prepare Your Fabric
First, decide on your napkin size. We wanted ours to look like little hankies, so we cut the fabric to roughly 12" x 12" for a finished size of 11" x 11". You can make yours any size—just cut the fabric about 1" larger than your desired finished size so you have room to trim.
Next, cut four 1.5" strips of stabilizer, roughly the same length as your fabric. With the textured side touching the fabric, iron the stabilizer onto the perimeter. Then, using a pen or pencil and a ruler, mark the finished size of your napkin right onto the stabilizer.
### Step 2: Play with Your Decorative Stitches
Before you commit to your final napkins, grab one prepared fabric piece as a tester. Every decorative stitch is different, and by adjusting the width and length settings on your machine, you can control the scale and density of each stitch.
As you experiment, jot down the stitch number and settings next to each sample on the stabilizer. That way, you won't forget which ones you love.
### Step 3: Stitch and Cut Your Napkins
Now it's time for the real deal. If you haven't already, load a bobbin with your colored thread so both sides of the stitch match. We found it easiest to cut away the excess fabric after tearing away the outer stabilizer, leaving the inner stabilizer intact.
Put on a good podcast or a weekend movie, grab your sharp fabric scissors, and trim away. The result? A set of napkins that look like they took hours—but actually came together in an afternoon.
### Show Off Your Work
We'd love to see the decorative stitch napkins you create! Share them on Facebook and Instagram, and tag @fatquartershop so we can admire and share your work. Happy sewing!
Stay connected to Fat Quarter Shop for more sewing inspiration.