Unlock Your Sewing Machine's Hidden Decorative Stitches: Free Napkin Tutorial
William Johnson ·
Listen to this article~3 min
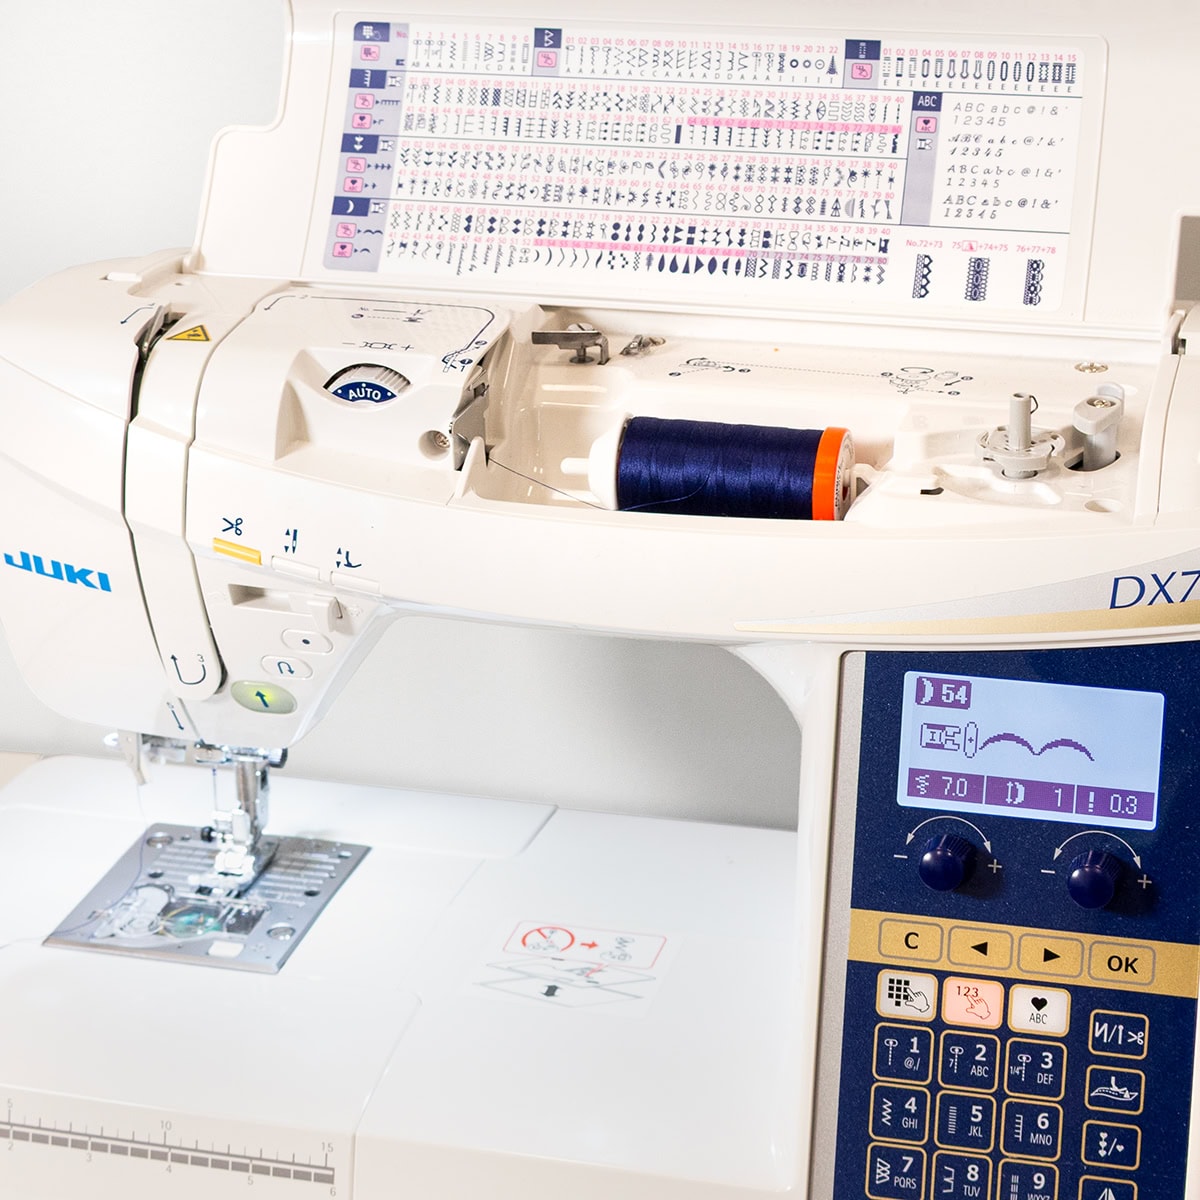
Discover how to use your sewing machine's decorative stitches to create beautiful, heirloom-quality napkins. Free tutorial with step-by-step instructions.
Ever feel like your sewing machine has a secret language you haven't quite learned? Those decorative stitches—the ones buried in the menu—often go untouched. But what if I told you they're the key to turning plain fabric into heirloom-worthy napkins? During National Sewing Month, we're dusting off those stitches and giving them a starring role. And the best part? You can follow along with this free tutorial.
### Why Decorative Stitches Deserve a Second Look
Most of us stick to straight stitches for everyday sewing. But your machine's decorative stitches offer a world of texture and personality. They can transform a simple square of fabric into something that looks like it took hours of hand-stitching. Plus, they're surprisingly easy to use once you get the hang of adjusting width and length.
### Gather Your Supplies
Before we dive in, let's round up what you'll need. I used a Summer Solstice Wovens fat quarter bundle from Moda Fabrics—the woven texture gives the napkins a delicate, airy feel that pairs beautifully with sturdy stitches. Here's the full list:
- Woven fabric (fat quarters work great)
- Contrasting thread (I used 50wt Aurifil in Yellow and Midnight)
- Totally Stable Iron-on Tear-Away Stabilizer by Sulky
- A pen or pencil
- Sweet Snips 6" Fabric Scissors
### Step 1: Prepare Your Fabric
First, decide on your finished napkin size. I wanted a dainty hankie look, so I cut my fabric to roughly 12" x 12" for a finished size of 11" x 11". You can go bigger or smaller—just cut your fabric about 1" larger than your desired finished size.
Next, cut four 1.5" strips of stabilizer, roughly the length of your fabric. With the textured side facing the fabric, iron the stabilizer onto the perimeter. Then, using a pen or pencil and a ruler, mark the finished size of your napkin directly onto the stabilizer.
### Step 2: Play with Your Decorative Stitches
Grab one of your prepared fabric pieces to use as a tester. This is where the fun begins. Every decorative stitch is different, and by tweaking the width and length settings, you can control the scale and density. As you experiment, jot down the stitch number and settings next to each sample on the stabilizer. Trust me, you'll thank yourself later.
### Step 3: Stitch and Trim
Now for the real deal. Load a bobbin with your contrasting thread so both sides look neat. Stitch along your marked line using your chosen decorative stitch. Once you've stitched all four sides, it's time to trim. I found it easiest to tear away the outer stabilizer first, then cut away the excess fabric with sharp scissors. Put on a podcast or a movie—this part goes faster than you think.
> "The difference between a plain napkin and a stunning one is often just a few minutes of playing with stitches you already own."
### Share Your Creations
I'd love to see what you make! When you finish your napkins, share them on Facebook or Instagram and tag @fatquartershop. We're always inspired by your creativity.
Happy sewing!