Unlock Your Sewing Machine's Hidden Stitches for Heirloom Napkins
Jessica Smith ·
Listen to this article~3 min
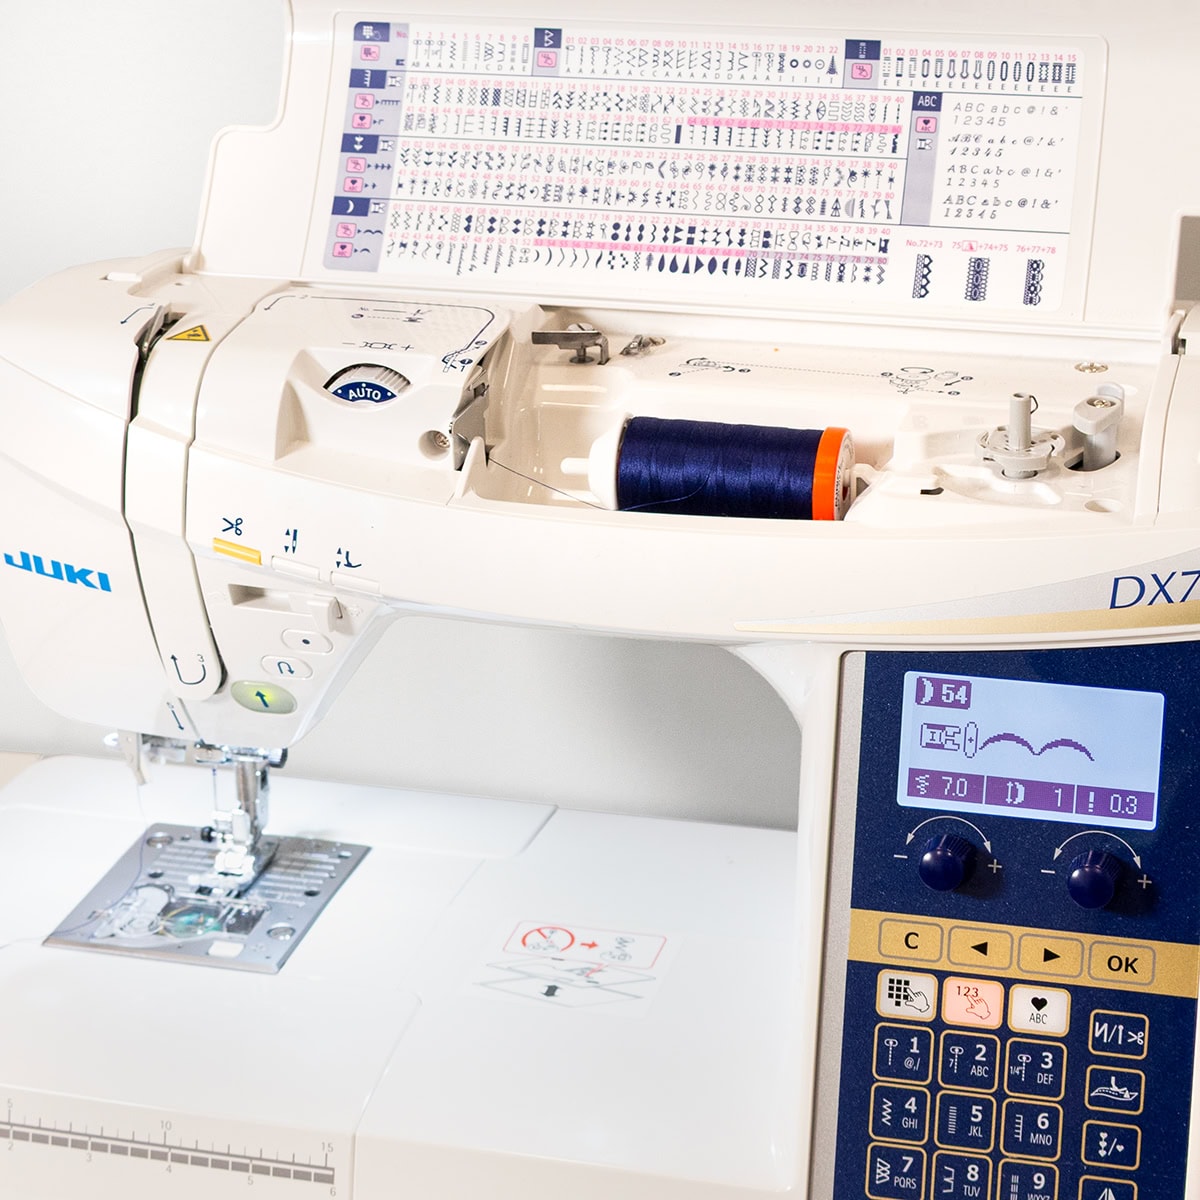
Give your napkins an heirloom-worthy finish by exploring your sewing machine's decorative stitches. This tutorial shows you how, step by step.
### The Magic of Decorative Stitches
Your sewing machine is more than a workhorse—it's a treasure chest of creative possibilities. During National Sewing Month, we're shining a light on those often-ignored decorative stitches that can turn a simple project into something truly special. This year, we're giving plain napkins an heirloom-worthy upgrade, and you can too.
### Why Decorative Stitches?
Most of us stick to straight or zigzag stitches, but those fancy stitches? They're not just for show. They add texture, personality, and a handmade touch that makes people ask, "Where did you get that?" Plus, they're surprisingly easy to use once you get the hang of them.
### What You'll Need
Before we dive in, let's gather our supplies. Here's what you'll need to make a set of decorative stitch napkins:
- **Woven fabric** – We used the Summer Solstice Wovens collection by Pieces to Treasure for Moda Fabrics. The woven texture gives a delicate, airy feel that pairs beautifully with sturdy stitches.
- **Contrasting thread** – We used 50wt Aurifil in Yellow and Midnight. Don't be afraid to play with color!
- **Totally Stable Iron-on Tear-Away Stabilizer by Sulky** – This keeps your fabric from puckering.
- **A pen or pencil** – For marking your stitching lines.
- **Sweet Snips 6" Fabric Scissors** – Sharp scissors make all the difference.
### Step-by-Step: Making Your Napkins
#### Step 1: Prepare Your Fabric
First, decide on your napkin size. We wanted ours to look like little hankies, so we cut 12" x 12" squares for a finished size of 11" x 11". You can go bigger or smaller—just cut your fabric about 1" larger than your desired finished size to allow for trimming.
Next, cut four 1.5" strips of stabilizer, roughly the same length as your fabric. With the textured side touching the fabric, iron the stabilizer onto the perimeter of your fabric. Then, using a pen or pencil and a ruler, mark the finished size of your napkin onto the stabilizer. This is your stitching guide.
#### Step 2: Play with Your Stitches
Before you commit to your final napkins, make a tester! Grab one of your prepared fabric pieces and try out different decorative stitches. Adjust the width and length settings on your machine to see how the stitch changes. As you find combinations you like, write the stitch number and settings right on the stabilizer so you remember them later.
"Every decorative stitch is like a little signature you can add to your work."
#### Step 3: Stitch and Trim
Now for the fun part—stitching your napkins! Load a bobbin with your colored thread so both sides look neat. Sew along your marked lines using your chosen decorative stitches. Once you're done, tear away the outer stabilizer, leaving the inner stabilizer intact. Then, carefully trim away the excess fabric. A good podcast or movie marathon makes this step fly by.
### Show Off Your Work
We'd love to see what you create! Share your decorative stitch napkins on social media and tag us so we can admire your handiwork. Happy sewing!