The Vintage Ruching Trick That Turns Cross Stitch Into a Showpiece
Emily Johnson ·
Listen to this article~4 min
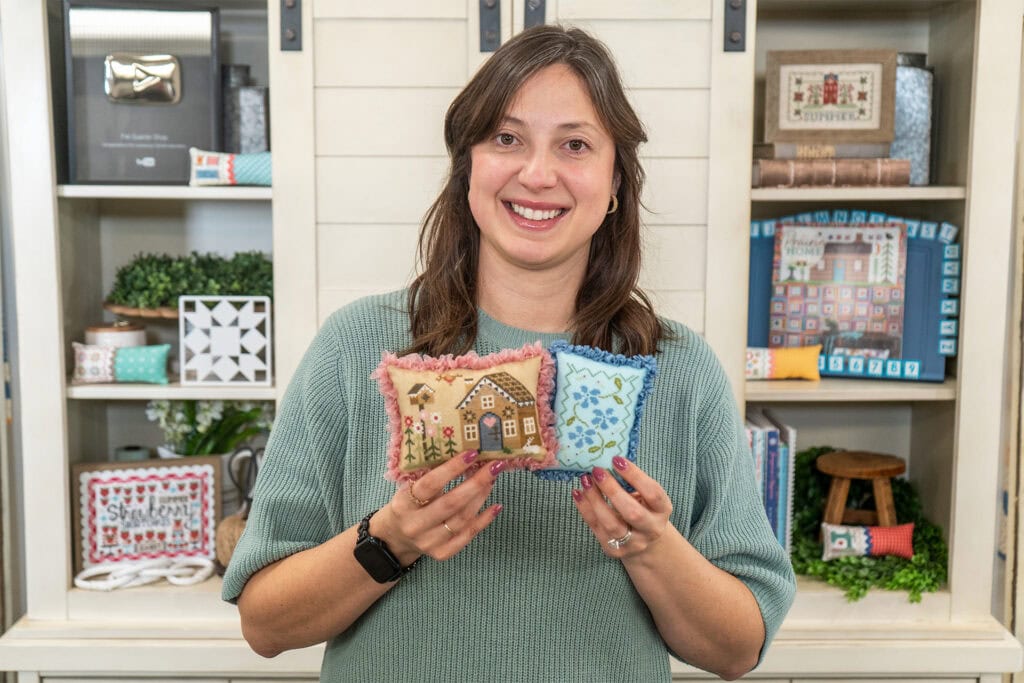
Learn how to add a vintage ruched ribbon border to your cross stitch pillow with Denise's step-by-step technique from the FlossTube Livestream. Includes supply list and pro tips.
### Why Ruching Is Your New Favorite Finish
You've stitched the last cross, woven in the ends, and now you're staring at a beautiful piece that deserves more than a plain frame. What if you could turn it into a pillow that looks like it came from a boutique? That's exactly what Denise showed us during the FlossTube Livestream, and it's way easier than it sounds.
Ruching is a vintage technique that adds a gathered ribbon border to your finished piece. It's the kind of detail that makes people pick up your pillow and ask, "Wait, how did you do that?" And the best part? You don't need a sewing machine or years of experience. Just a needle, thread, and a little patience.
### What You'll Need to Get Started
Before you dive in, gather your supplies. Here's the short list:
- Any non-wire ribbon (satin, grosgrain, or even a vintage velvet trim)
- A sharp needle, like the Clover Black Gold Size 10
- Clear invisible polyester thread (it disappears into the fabric)
- Basic pillow finishing supplies: fusible fleece, wool roving for stuffing, and a stuffing tool
Don't worry if you don't have every single item. Denise used products from Lady Dot Creates and It's Sew Emma, but you can substitute with what you have on hand. The key is to use a ribbon that can gather nicely without wire.
### Step-by-Step: Denise's Ruching Technique
Once your pillow is sewn and stuffed with a center back seam, you're ready to add the ruching. Here's how Denise does it:
1. **Secure your thread.** Knot it at the center bottom seam of the pillow and trim the tail.
2. **Prep the ribbon.** Cut a straight edge, but don't cut it to length yet. Fold the raw end over twice toward the pillow to hide it, then tack it down with a couple of stitches.
3. **Start stitching.** From the edge closest to you, make two running stitches away at a 45-degree angle (/), then two back toward you at a 45-degree angle (\). Finish with two straight stitches along the center. It looks like a triangle with a tail!
4. **Gather and tack.** Pull the stitches snug to gather the ribbon, then tack it down with one stitch.
5. **Repeat around the perimeter.** At the corners, make your gathers extra tight and add a few extra tacks to keep it full.
6. **Finish the ends.** When you're ½"–1" from the start, switch to only the 45-degree stitches, then trim, fold, and nestle the end against the beginning. Secure with knots and bury the thread.
> "The magic is in the gather—don't pull too tight or you'll lose the soft, vintage look." — Denise
### Pro Tips for a Flawless Finish
- **Choose the right ribbon.** Non-wire ribbons work best because they gather smoothly. If you use wire-edged ribbon, it'll fight you the whole way.
- **Thread matters.** Invisible polyester thread blends into any color, so you don't have to match it perfectly.
- **Practice on a scrap.** Before you commit to your finished pillow, try a few gathers on a spare piece of fabric. It'll help you get the tension just right.
### Share Your Ruched Creations
Once you've finished your pillow, don't keep it to yourself! Follow Fat Quarter Shop on Facebook and Instagram for updates, or join Kimberly's Stitch Squad Facebook Group to connect with other quilters and stitchers. Tag us when you post your ruched finishes—we love seeing your work.
Happy stitching!