The Vintage Ruching Trick That Makes Cross Stitch Pillows Look Boutique
Michael Johnson ·
Listen to this article~4 min
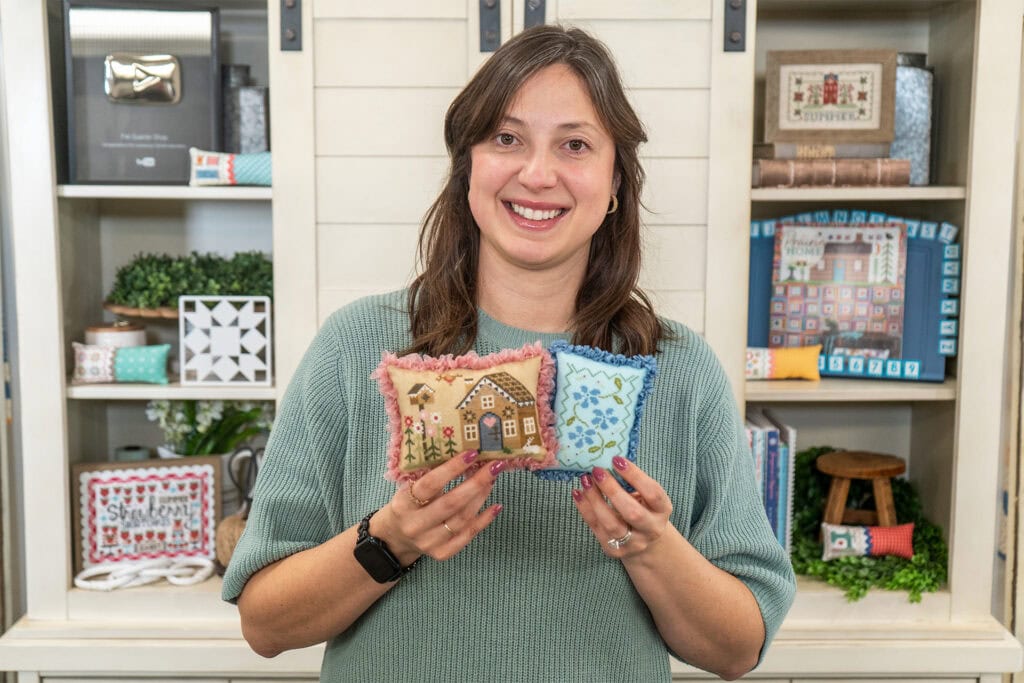
Learn how to add a vintage-inspired ruched finish to your cross stitch pillows with Denise's step-by-step technique from the FlossTube Livestream. Includes supplies and tips.
### Why Ruching Deserves a Spot in Your Cross Stitch Finishing Toolkit
There's something about a finished cross stitch pillow that makes all those hours of stitching feel worth it. But let's be honest—sometimes a plain pillow finish feels a little... flat. That's where ruching comes in. It's a vintage-inspired technique that adds texture, dimension, and a whole lot of charm to your piece.
Denise shared this method during the FlossTube Livestream, and it's one of those techniques that looks complicated but is actually pretty forgiving. Once you get the rhythm down, you'll want to add ruching to everything.
### What You'll Need for the Ruching
Before you start, gather your supplies. Most of these are probably already in your stash, and if not, they're easy to find.
- Any non-wire ribbon will work. Satin, grosgrain, velvet—pick what matches your piece.
- Clover Black Gold Size 10 Sharp Needles
- Clear premium invisible polyester thread (trust me, it's worth having on hand)
- Stash 'n Stores from It's Sew Emma for keeping things organized
### Pillow Finishing Supplies
If you're finishing a piece into a pillow, here's what Denise used:
- Blue Notes Number Two by October House Fiber Arts
- Pellon Shape Flex Woven Fuse (20-inch wide yardage)
- Pellon 20" x 36" Shape Flex Woven Fuse
- Nantucket Summer by Camille Roskelley
- Heat n Bond Ultrahold 17" x 1 Yard Pack
- 1 lb White Core Wool Roving
- Stuffing Tool by Benzie Design
- Black Fineliner Frixion Erasable Marker
- Ultimate Pressing Cloth
### Denise's Ruching Technique, Step by Step
This is the part where it all comes together. Denise demonstrates the whole thing in the livestream (jump to 1:10:00 if you want to watch), but here's a quick breakdown you can bookmark.
1. Thread your needle and secure it to the center bottom seam of the pillow with 2–3 knots. Trim the tail.
2. Cut a straight edge on your ribbon, but don't cut it to length yet. Fold the raw end over twice toward the pillow to hide it.
3. Anchor the folded edge with 1–2 tacking stitches.
4. Starting at the edge closest to you, make two running stitches away from you at a 45-degree angle (/), then two back toward you at a 45-degree angle (\). Finish with two running stitches straight along the center (–). It looks like a triangle with a tail.
5. Pull your stitches snug to gather the ribbon, then tack it down with a single stitch.
6. Repeat steps 4 and 5 around the whole perimeter. At corners, make your ruching extra tight and add a few extra tacking stitches.
7. When you have ½"–1" left before reaching your starting point, switch to only the 45-degree stitches (/ \) for the final gathers.
8. Trim the ribbon to fit, fold the end over twice, nestle it along the starting fold, tack it down, and secure with 2–3 knots.
9. Bury or trim the thread to finish.
> "Ruching is one of those techniques that looks like it took hours, but once you get the hang of it, you can finish a pillow edge in an afternoon." — Denise
### Tips for Perfect Ruching Every Time
- Keep your tension consistent. If your gathers look uneven, your stitches are probably too loose or too tight.
- Use a thread that matches your ribbon if you can't find invisible thread. It'll blend better than you think.
- Practice on a scrap piece first. Ribbon can be slippery, and getting the angle right takes a few tries.
- Don't be afraid to adjust. Ruching is forgiving—you can always add an extra tacking stitch to tighten things up.
### Stitch and Share
Once you've tried this finish, share your work! Follow Fat Quarter Shop on Facebook and Instagram for updates, or join Kimberly's Stitch Squad Facebook Group—it's a supportive community of quilters and stitchers. Tag them when you post your ruched finishes so they can see and share your work.
Happy stitching!